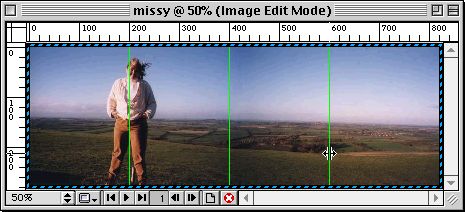
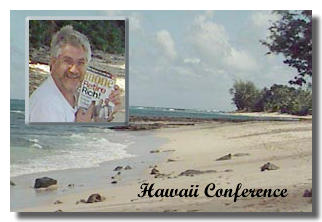
Slicing Slicing can make it easier for a browser to load large images. In the example below the image is designed to go across the entire screen. As one image, it could possibly take a while for this image to load. By slicing it into many parts it is likely to appear faster.
Set slicing to Slice Along Guides Also, remember to save the HTML of your slice.
When you look at your files you will see that you now have multiple images of this photograph. And an HTML file. Look closely and you will see that Fireworks has given you row and column numbers. missy_rl_c1.jpg is the first row and first column of the image.
All you have to do is to copy and paste the HTML code into the document where you want your image to load. Click here to see how this image would load. Slice Objects Sometimes you don't want to use the guides to slice an image. In that
case you need to select the Slice Tool One reason for doing this would be if you had an image that you wanted to update parts of it on a regular basis. By using the Slicing option in Fireworks you can update just the parts of the image that need updating.
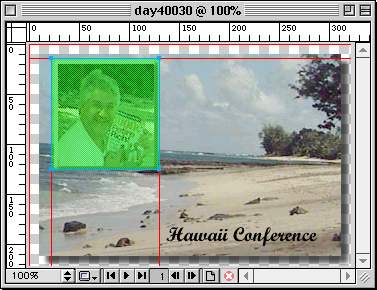
Using the Slice Tool a rectange was drawn around the inset photograph
Options are set using the Slice object window. You can set a URL link for a sliced object as well as other settings.
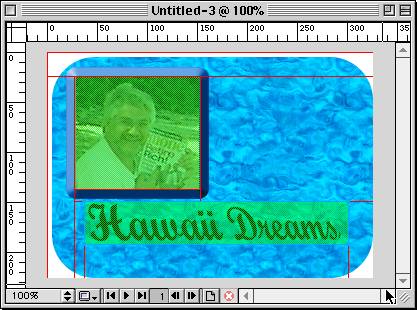
Slicing can also be used when you have an image that should be saved as two different file formats. This image has an area that should be saved as a JPG (the photograph), the text can be saved as a GIF with few colors, and the background can be saved as a GIF with more colors.
Text
Slice 
|