
|
| When you turn on the computer that is attached to the scanner you will see an icon on the Desktop that says Scan. Click on this icon and you will open Photoshop. |  |
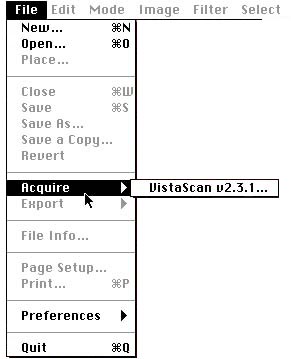 |
Once Photoshop is open you need to go under File, and set the computer to Acquire an image with VistaScan |
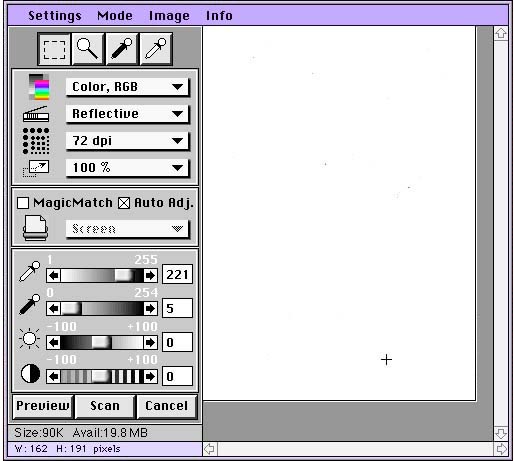 |
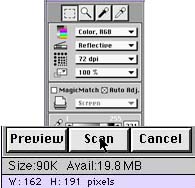
The Scanner control window will open. |
 |
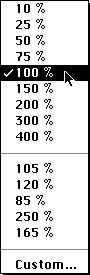
Now you have to: Place the image to be scanned face down on the scanner's surface. Make sure that you have the scanner set to scan at 72dpi (that stands for dots per inch, or in our case pixels per inch). Select the scanning size of your image. It is best to capture your image at the correct size rather than try and resize it later in Photoshop. You can do some small sizing adjustments in Photoshop, but if you have to reduce or enlarge it much, it will affect the quality of your image. Due to Bandwidth concerns you don't want to have images that are large. If you need to have a large image to show detail, you should scan both a small thumbnail then Link that thumbnail to a page showing your larger image. Keep in mind that the web is an intimate medium and no image should be larger than the width or height of the computer screen. |
 |
 |
Click the Preview button on the control panel. This will scan the entire area of the scanner's platten. | 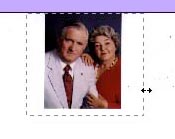 |
Now draw a box
around the area of the image you wish to scan with the You can adjust
the size of the area selected by using the |
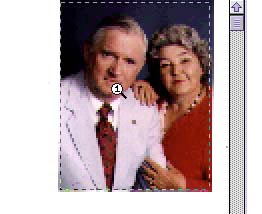 |
You
can get more control over the placement of your Marquee
selection, if you use the Click the Scan button on the control panel |
 |
 |
You now have a finished scan. Save it on your disk or in your work folder and then you can pull it into Photoshop to do any further editing. |
![]()
Web
Building tutorials: Intro |
Fonts | Backgrounds
| Lists | Layout
| Tables | Graphics
| FTP
Photoshop
tutorials: Getting Started
| Text | Backgrounds
| Filters | Icons
| Photos & Scanning
Fireworks
tutorials: Getting Started | Paths,
Objects | Fills, Strokes, Effects
| Text, Effects | Import/Export
| Image Map | Slicing
| Behaviors | Putting
it all together